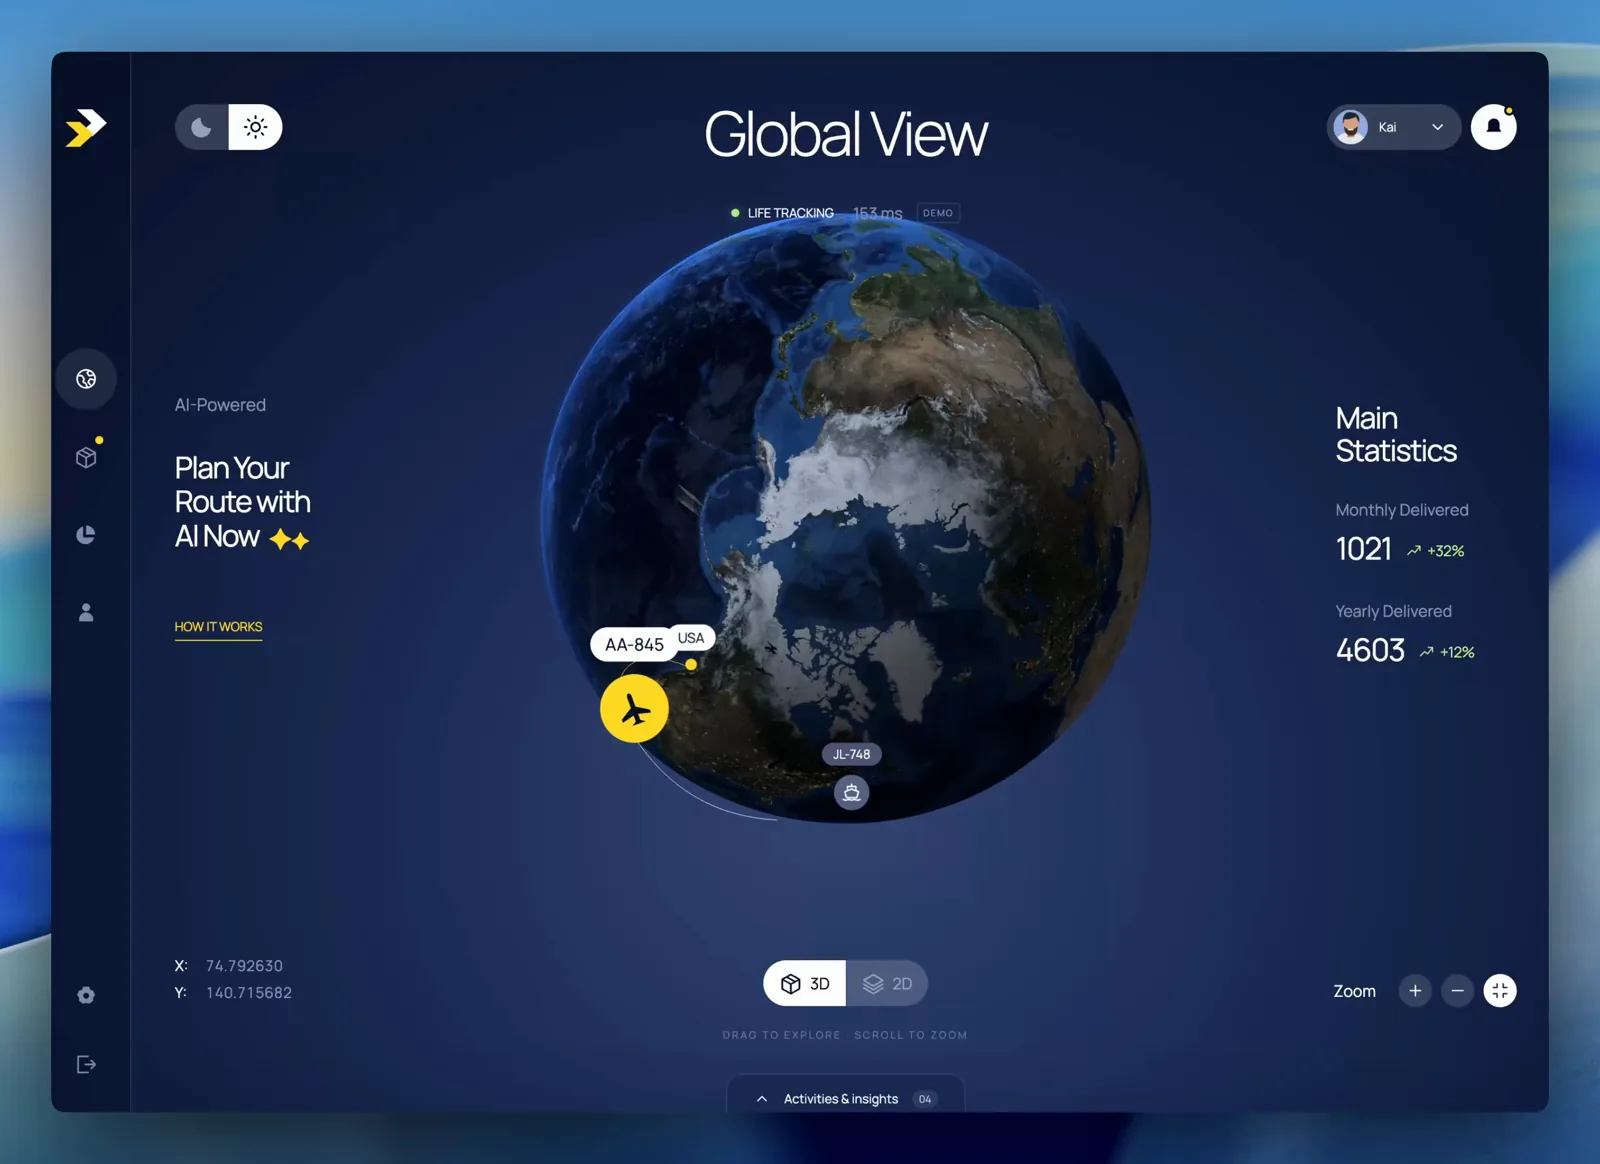
A 3D cell architecture demo by @DilumSanjaya went viral recently. 480K+ views. Interactive 3D organs spinning in the browser, labeled anatomy, classroom-ready UI.
I thought it would be complicated. It is not. The whole thing is a 4-tool AI pipeline: image generation, 3D reconstruction, compression, and code generation.
I rebuilt it in about 30 minutes. Here are the 4 steps.
Step 1: Generate the flat images
Use GPT Image 2 (via ChatGPT) to generate two images of the organ or cell you want to model.
Front view (cross-section):
A [organ name] 3D teaching model, front view with cross-section showing internal anatomy. White background, 1:1 ratio. Color-coded tissues, clean structure, classroom-friendly style. High-quality 3D render, not photorealistic.
Back view (complete):
The same [organ name] 3D teaching model, back view. White background, 1:1 ratio. No cross-section. Same material, color, scale, and style as the front view. Optimized for multi-view 3D reconstruction.
This works for hearts, lungs, cells, neurons, whatever anatomy you want.
The key is: same scale, same style, white background. That makes the next step much easier.
Step 2: Generate the 3D model
Upload both images (front + back) to one of these tools:
- Tripo3D (recommended, good at multi-view reconstruction)
- Hunyuan 3D (Tencent's alternative)
Upload the front and back images. The tool will generate a .glb file (a standard 3D model format that browsers can render).
Wait a few minutes. Download the GLB.
Step 3: Compress the GLB file
Raw GLB files from these tools are often 10-30MB. That is too heavy for a web demo.
Use Claude Code or Codex to write a quick compression script. Something like:
Compress this GLB file to under 5MB.
Reduce polygon count, optimize textures, strip unused data.
Output a web-compatible GLB with tangent data preserved.
I got mine from ~15MB down to ~2MB. Good enough for smooth browser rendering.
Tools that also work: gltf-transform CLI, Blender's GLB export with Draco compression.
Step 4: Build the web viewer
This is where the coding agent does the heavy lifting.
Take a screenshot of Dilum's demo (or mine), and give it to Claude Code or Codex with:
Recreate this website. Use Three.js to load and display a GLB 3D model. Add auto-rotation, orbit controls, and labeled anatomy info panels. Single HTML file, no build step.
The agent will generate a working single-file HTML page. Drop your compressed GLB file next to it, update the file path, and open it in a browser.
My version: a Biology Anatomy Studio with a heart model, auto-rotation, anatomy labels, comparison panels, and a clean classroom aesthetic. One HTML file. ~1200 lines. Built entirely by Codex from a screenshot prompt.
What you end up with
An interactive 3D anatomy viewer that runs in the browser. No server, no build system, no React. Just an HTML file and a GLB model.
Students (or anyone) can drag to rotate, zoom in, and explore the anatomy from every angle.
Source
- Original viral demo: @DilumSanjaya
The whole pipeline is: AI generates flat images -> AI builds the 3D model -> AI compresses it -> AI writes the viewer code. You are connecting 4 tools into one workflow.